Equipment needed for pin-hole photography = a tight box with a small circular hole (with a flap to cover it), photographic paper, three trays (one with developer, one with stopper and one with fixer), a sink full of water
|
Safety in the dark room......
Step 1 : enter the dark room shutting all doors and switch the light to the safety (red) lighting Step 2 : then place a piece of photographic paper into the box you are using, ensuring the flap of the box is closed before leaving the dark room Step 3 : take the sealed box outside and place it in front what you want to take a picture of Step 4 : once the box is placed down, open the flap of the box allowing the light to pass through and create the image on the paper Step 5 : depending on how light it is the day you are taking the photos, leave the box down for around 1-4 minutes to allow the paper to catch the light and therefore the image - leave it for less time if it is bright, longer is it is dark Step 6 : close the flap of the box and return to the dark room (with the red lighting) before taking the paper back out of the box Step 7 : once you take the paper from the box, place it in the tray of developer and ensure the photo is fully covered by the liquid - leave this for 2 minutes or less if the image has developed as much as you want it to Step 8 : take the photo from the first tray and place it in the stopper tray for 10 seconds Step 9 : remove the photo from the second tray and place it in the fixer tray for a further 2 minutes Step 10 : remove the image from the third tray and place it in a sink of water for 10 minutes to ensure the chemicals are all washed off of the photo Step 11 : once you take the photo out of the sink yo should hang it to dry or dab excess water off of it using a paper towel Step 12 : once the photo is dry, you can then scan it into a computer to convert the colours of the photo to achieve the final image |
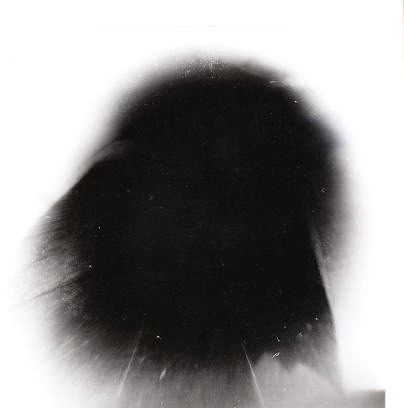
My first photograph came out fully black when I developed it. The photo came out like this because it was underexpose as not enough light was able to go into the box, resulting in the black in the centre of this image. This may have been due to me taking the picture in a dark area - so in my next photo, I left the flap open for more time and used a brighter area to take the photo.
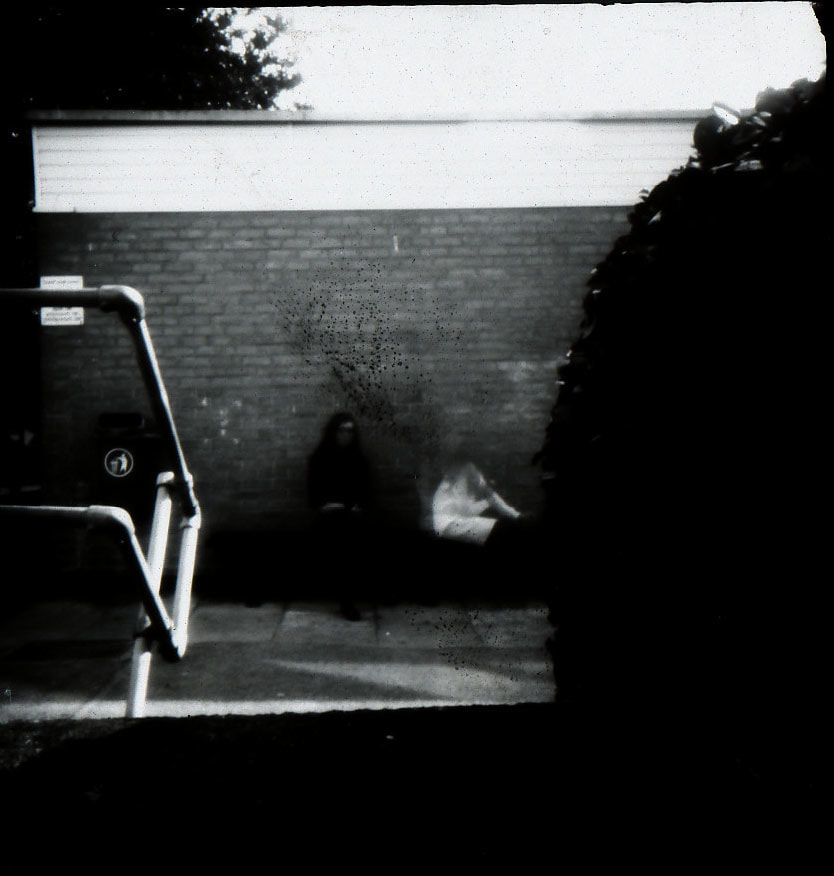
For my second photo, I decided to do a portrait photo. I put the box down and then sat on a bench opposite and took the photo - this time I left the box open for more time (as again it was a dark area) and the image came out a lot better.
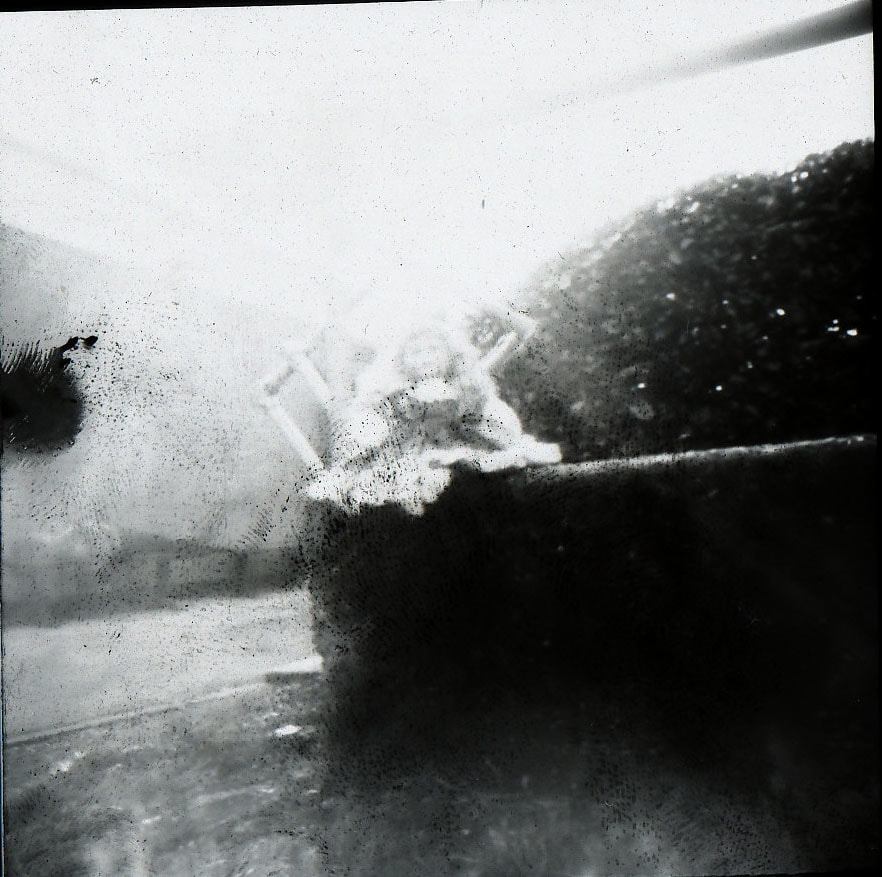
In my final photo, I decided to take a photo of a doll. I placed the doll down on a surface slightly higher than the surface I put the box on and angled the box upwards. For this image I left the box open for less time because it was angled towards the sun, however this resulted part of my image to be over exposed due to the placement into direct light.
|
